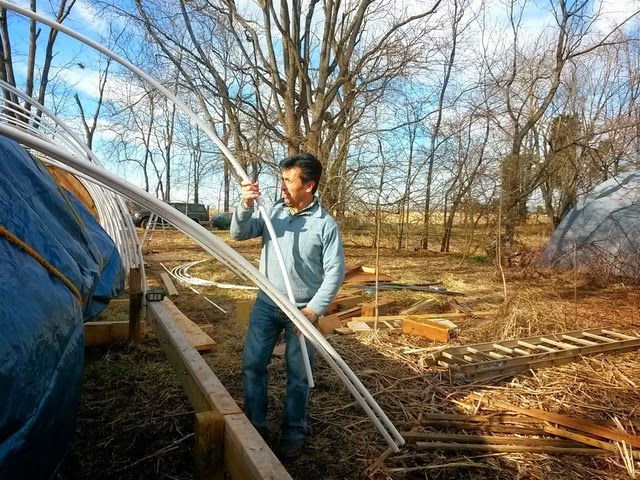
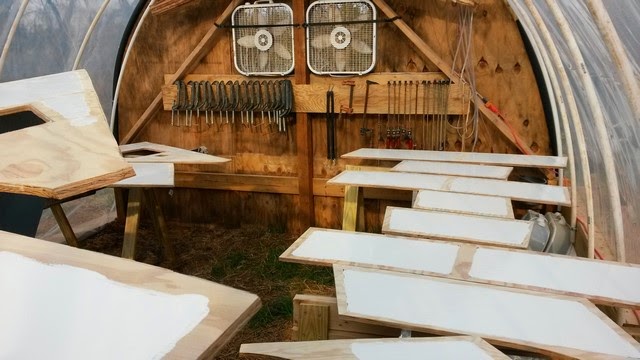
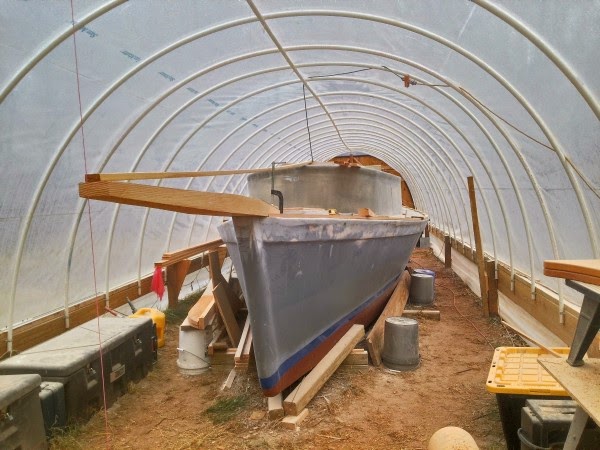
In November if 2013 we moved Nichiko to Somerset, VA where she would be safe and, I hope, remain until finished. The first thing was to get her under cover, so I rebuilt the hoop house there making it 60 feet long so as to have space to work in. Once I had the posts in and the frame screwed on about two feet above the ground, Carlos helped me put up the roof.
%2B(Copy).jpg) |
| Carlos helping out |
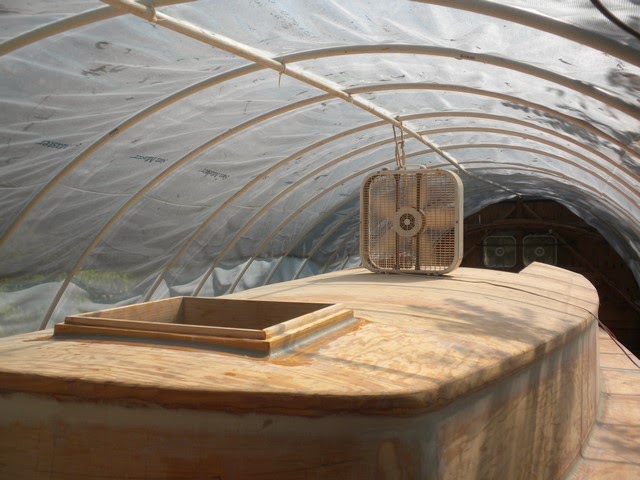
We set up the saws and tools and ended up with a nice work space. The frame is 60 x 12 feet, two feet above the ground to give more clearance. We put a three foot entry door at one end and two box fans at the other. When the temperature is 40 degrees outdoors, if is is sunny, it will be almost 70 inside. Quite cosy. And, the light!! Lots of sunlight so one can see to work.
.jpg) |
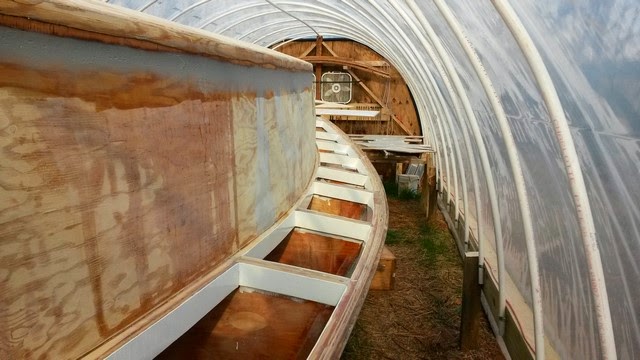
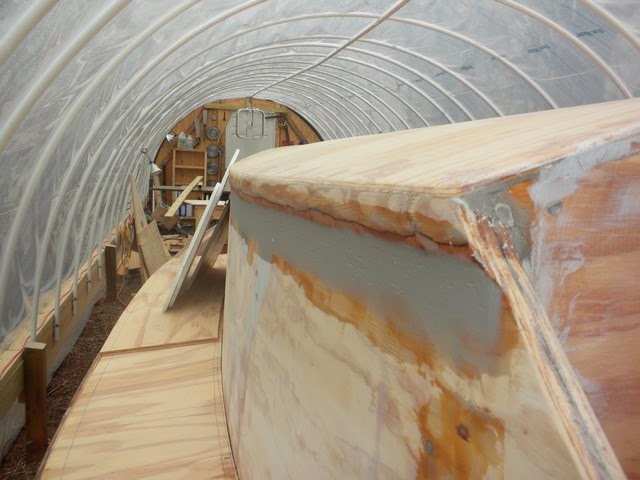
| Port side deck beams painted; reinforcing rim of cabin top filleted so dynel cloth will stick more easily |
.jpg) |
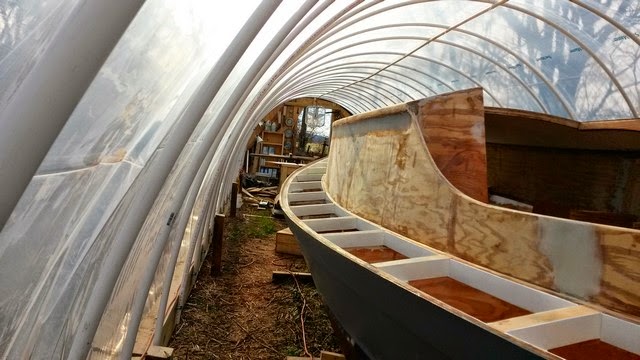
| Port side progress - same as above |
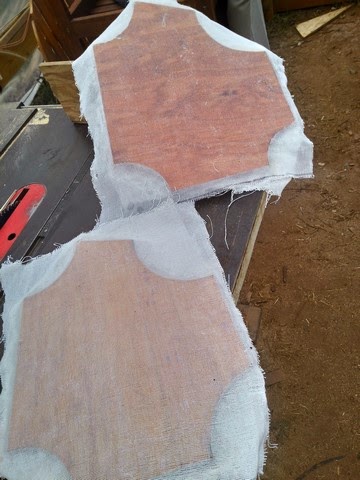
.JPG) |
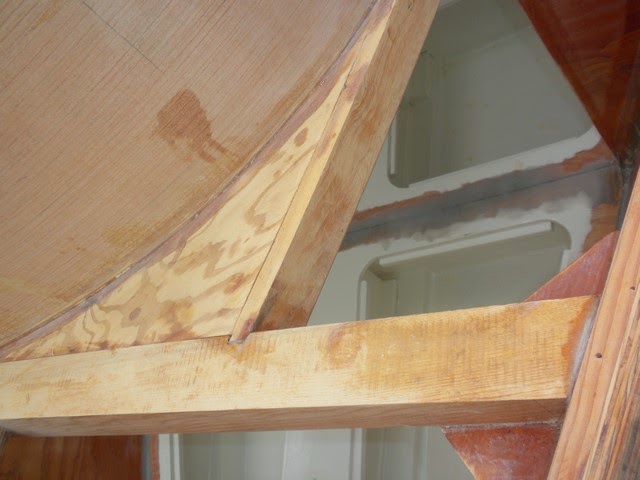
| 3/4 inch plywood reinforcing triangle between deck beam and cabin front. |
|
.jpg) |
| 3/4 inch plywood reinforcing triangle between deck beam and back of cockpit. Hole is for tiller |
.JPG) |
| Cutting and fitting half inch ply for deck sides |
.JPG) |
| More deck pieces being fitted. Half inch marine ply |
.jpg) |
| Deck pieces were painted underneath before being epoxied in place. Sherwin Williams Tile Clad 2-part epoxy |
.JPG) |
More filling in below reinforcing rim of cabin top
|
%2B(Copy).jpg) |
| Deck pieces, ready to be glued down |
%2B(Copy).jpg) |
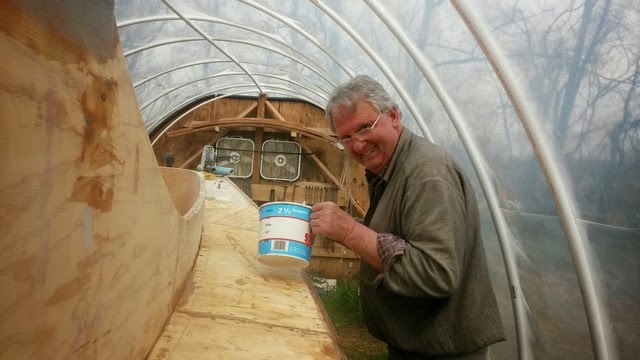
| John Ahlgren, having fun helping out. Epoxying the deck in place |
%2B(Copy).jpg) |
| Framing in the cockpit. 20 in across aft, 24 in at front, 63 in long |
%2B(Copy).jpg) |
| Cockpit framed, with lazarettes, bridge deck added to front |
.JPG) |
| My son Hans, with lazarette gutters which go under the access doors |
.JPG) |
| Lazarette gutters painted |
.jpg) |
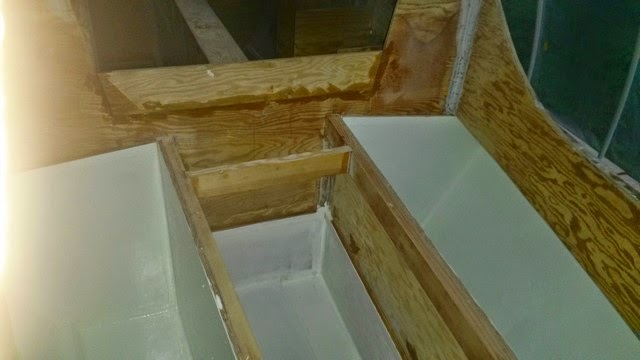
| Fore end of storage below the cockpit well - holes through the hull are for 1.5 in PVC drains |
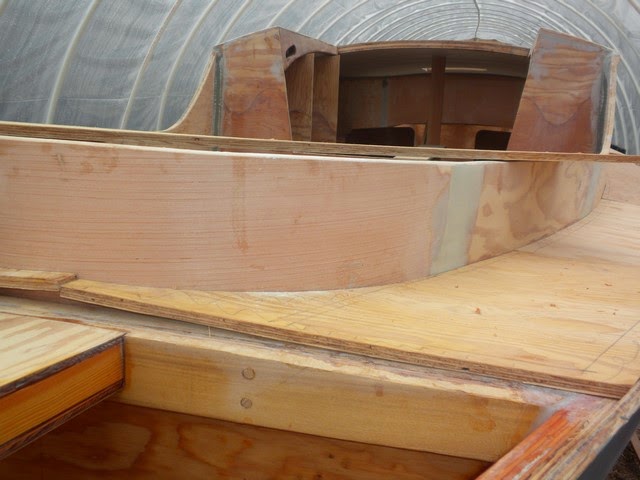
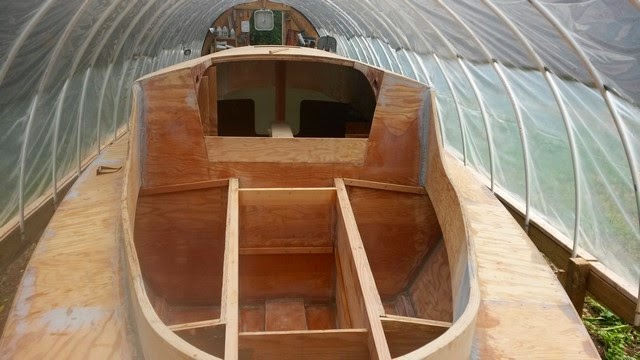
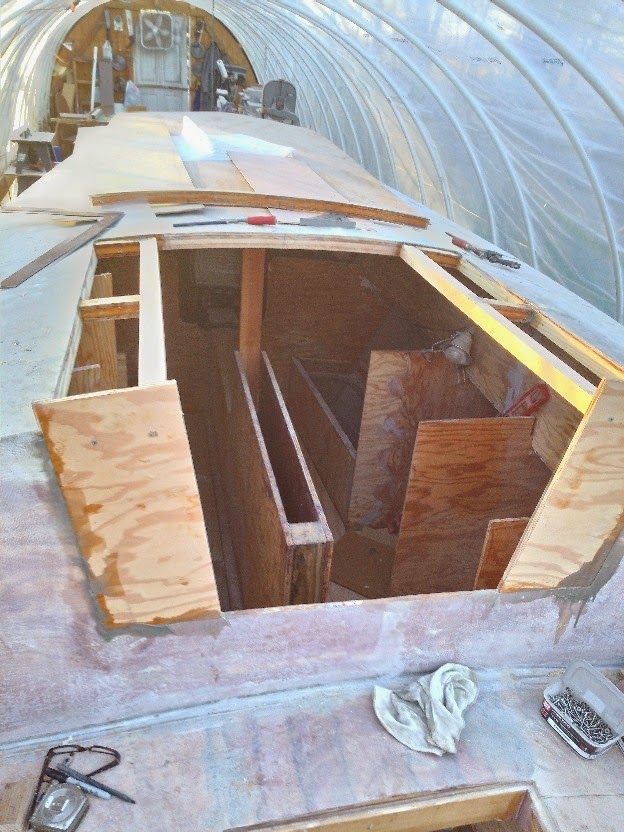
Building the cockpit required many decisions. How large, angle of seats above lazarettes, bridge deck or not, how deep, how to drain it, what to use storage area below it for... I opted for following the deck angle for the "seats" above the lazarettes. Yes for the bridge deck as it makes entry below easier, adds out of the way but easily accessed storage for little things under the bridge deck, provides another seat (facing aft) in the cockpit. There is no outboard well, so the area for that is storage underneath and above is flat continuing the "seats" around the aft end.
%2B(Copy).jpg) |
| Storage and more seating aft of cockpit well |
.jpg) |
| Lazarettes and cockpit well |
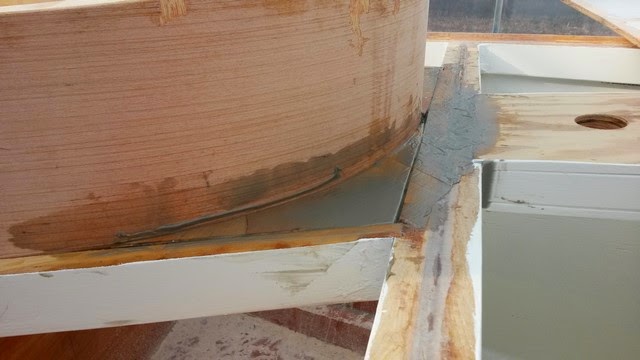
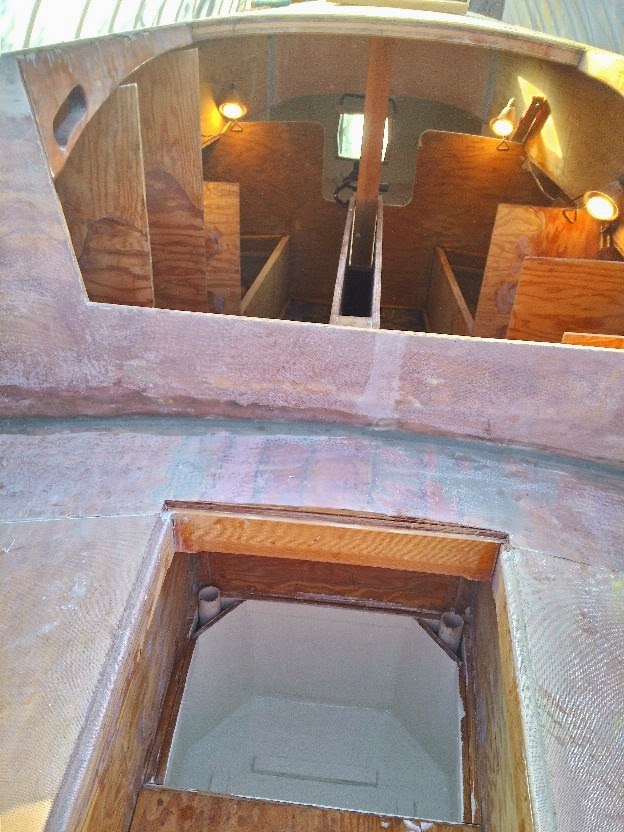
You can see I raised the entry to the companionway about four inches, I couldn't bear idea of water sloshing below so easily.
%2B(Copy).jpg) |
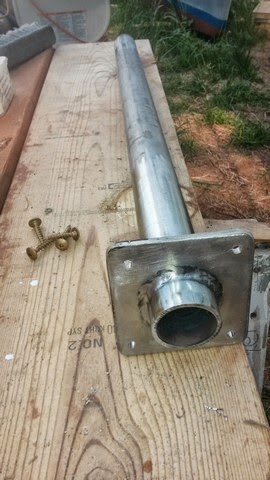
| Tiller tube with flange for screws beneath into the hull |
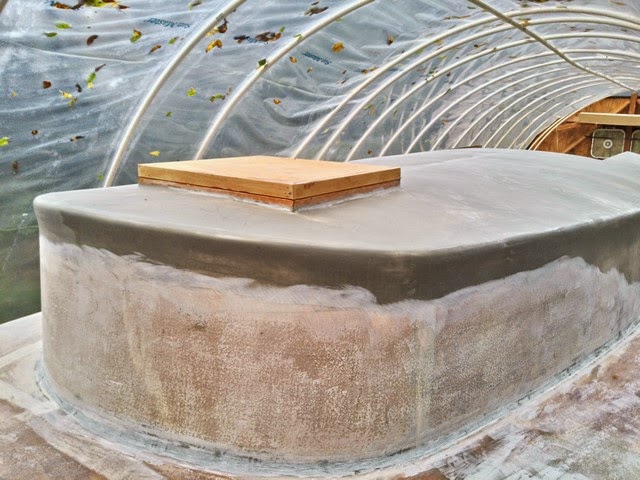
.JPG) |
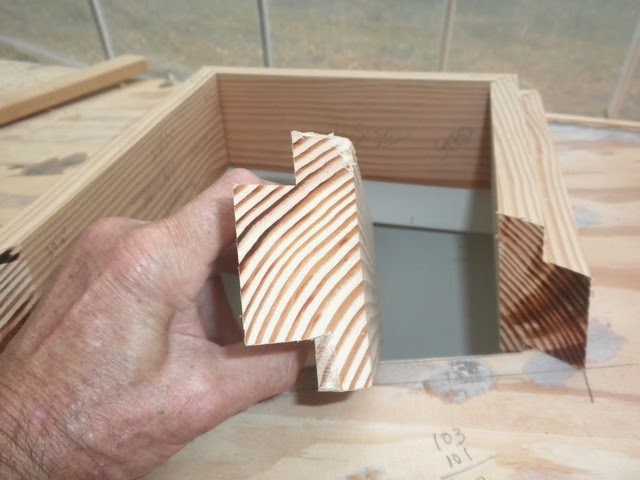
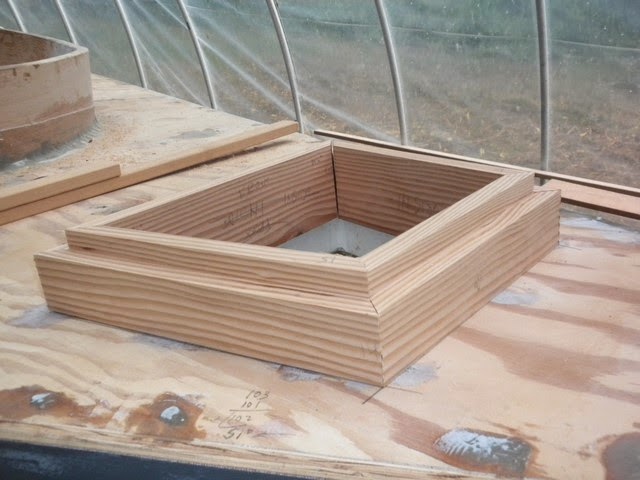
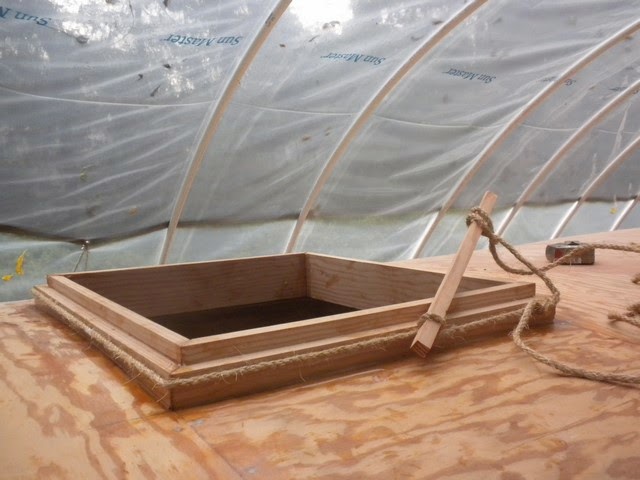
| End view of hatch base |
Hatch frames have been cut and fitted for the three access hatches, one forward just behind the bit as an anchor locker, one 20 x 20 inch main cabin hatch over the vee berth, and one aft just behind the mizzen mast.
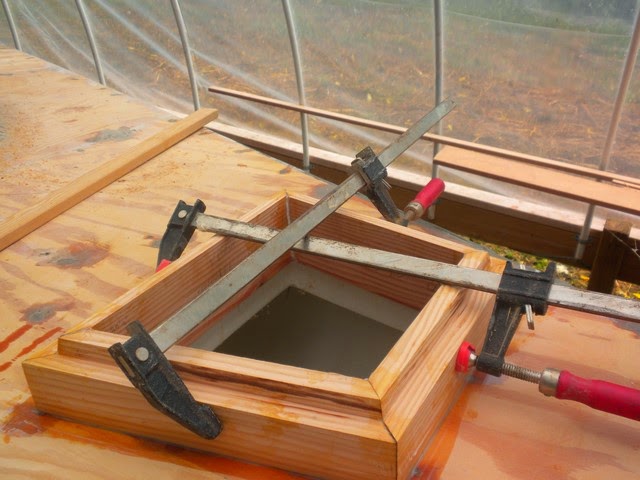
I used clamps to hold the pieces together on the smallest one, and a Spanish windlass for the larger ones which worked well. Gently held the four pieces in place without distorting them while the epoxy set.
.JPG) |
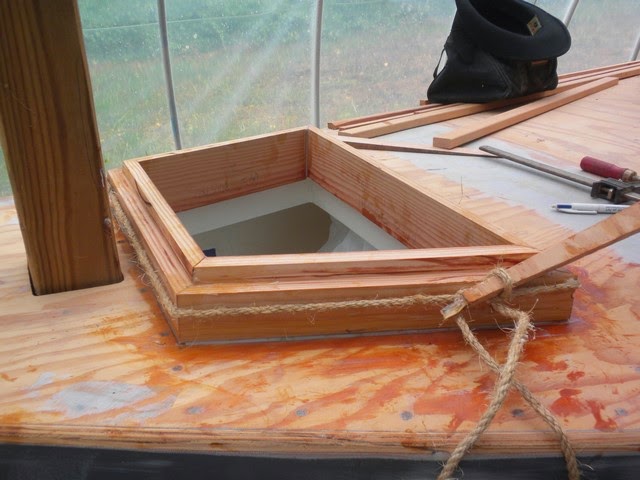
| Aft hatch base fitted and ready to epoxy in place |
.JPG) |
| Forward hatch frame held with Spanish windlass while setting up |
.JPG) |
| Rear hatch frame beng glued in place |
.JPG) |
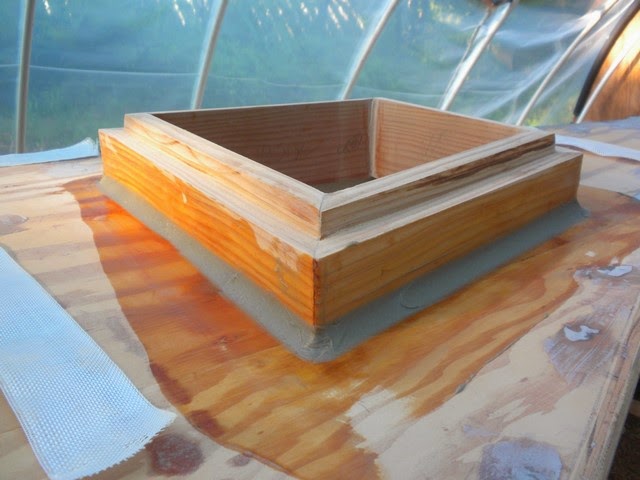
| Aft frame filleted |
.JPG) |
| Main hatch frame, lower profile |
.JPG) |
| Main hatch frame filleted - next - fiberglass tape reinforcement |
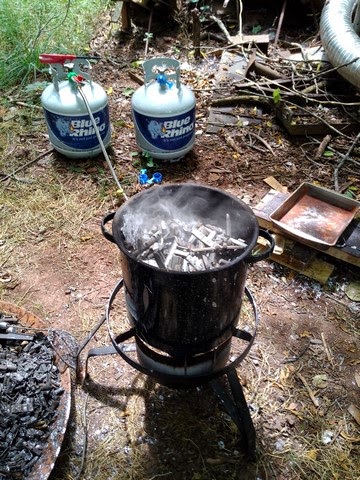
She needs about 1,500 pounds of lead ballast. I found this online priced at over $4,000, so then tried scrapyards, but "regulations" prohibited them from selling me scrap lead. So, on to tire stores. I found four tire stores within twenty miles which were willing to sell or give me used wheel weights. I managed to accumulate a couple of dozen five gallon buckets of these weights over a few months. Then, in July my son Hans was visiting and he melted down most of the lead and poured it into fifty pound ingots, using 11 x 14 cake pans. If you let them rust up first, the cooled ingot falls right out. We used an outdoor propane pot boiler from Lowes to heat the lead, and an Asian wire screen-spoon to filter out the impurities. Nuts and bolts and the metal clips float right to the top so it is easy to skimm them off.
.jpg) |
| Cooking up some lead |
I fitted the ingots on the hull to either side of the centerboard trunk and placed stringers between them to screw the plywood floor to while gluing that down. I had to trim a couple of them to fit well, but the lead cut easily using an old skilsaw blade.
.jpg) |
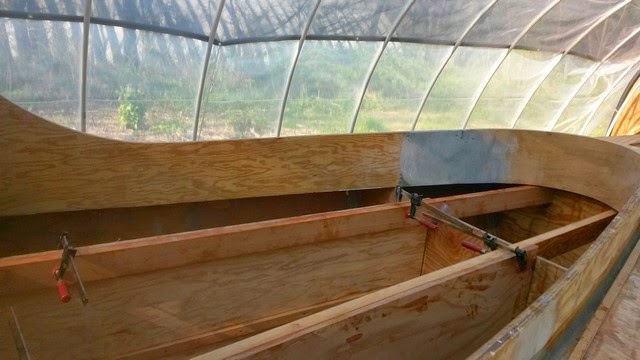
| Port side of centerboard trunk - before settees were installed |
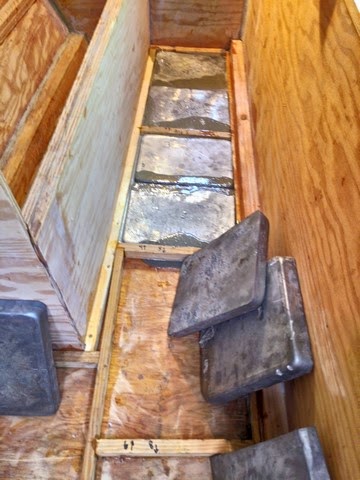.jpg) |
| Port side with settees in and lead being glued in place |
Once I had thirty of these ingots fitted, I mucked them in well against the hull and to the little spacers. Later, I "leveled" them out using the spacers as a guide.
.jpg) |
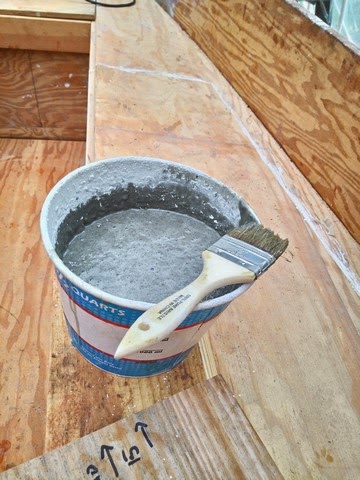
| Large wide open container gives longer pot life |
29 Sep 2013. Next item was to impregnate the dynel cloth to the deck and cabin exterior. For this, I got Carlos and Oscar to help, as I wouldn't be able to do this by myself in one day. They had helped with the hull, so understood the work to be done.
.jpg) |
| Dynel cloth being placed to glue down |
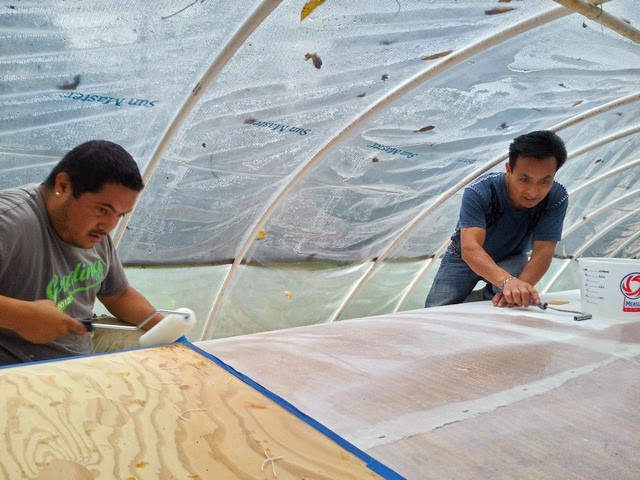.jpg) |
| Oscar and Carlos - a big help on this |
.jpg) |
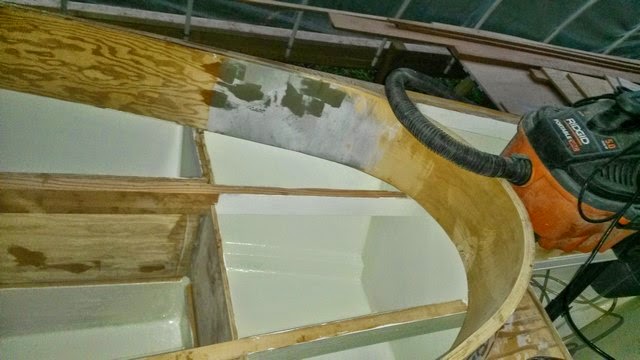
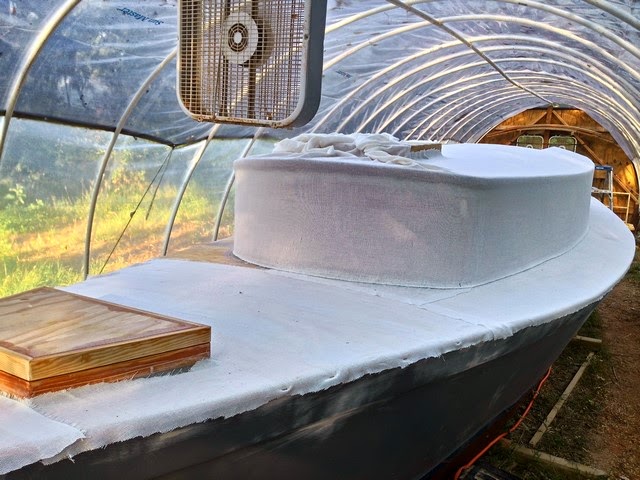
| Dynel impregnated to plywood. Putting first skim coat over the cloth |
After the first coat of epoxy on the exterior, I skimmed it with a couple of coats of thickened mix using talc. I will sand and paint this later, but want to get the cockpit and interior of the cabin caught up first.
.jpg) |
| Baffles for inside water tanks |
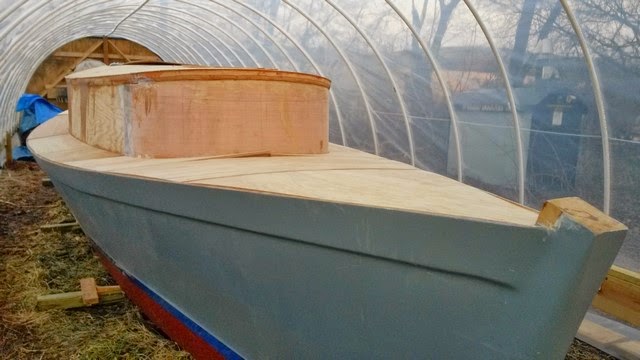
December 2014 was warm until Christmas, so I was able to coat the entire exterior topsides and cabin with a good coat of epoxy thickened with talc. Then I finished the cockpit floor and cover the cockpit well with 3 inch fiberglass tape in the corners and dynel cloth on the floor and sides.
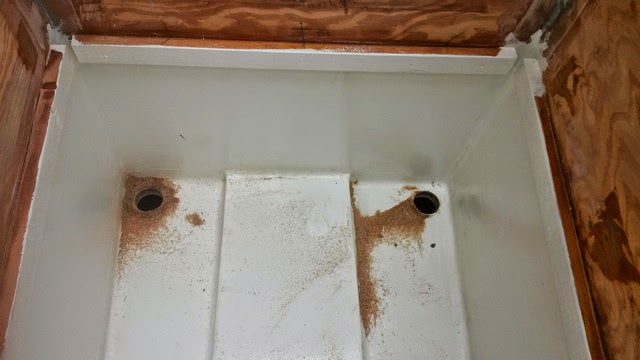
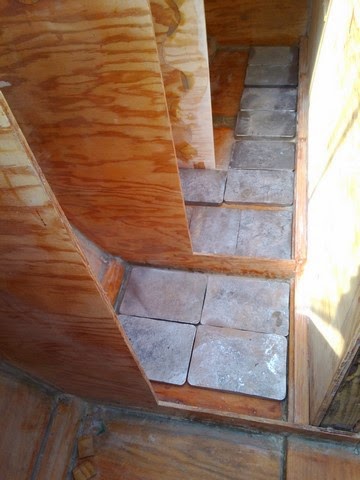
The front part of the cockpit well has the cockpit drains, 1 1/2 inch PVC, they are protected by 1/2 inch ply corners in the small compartment made for two T-105 6-volt golf cart batteries, accessed from inside the cabin. At some point, I may put a waterproof hatch in the main floor of the cockpit which is behind the battery compartment, but for now, it is flotation. ($600 for a decent hatch.)
 |
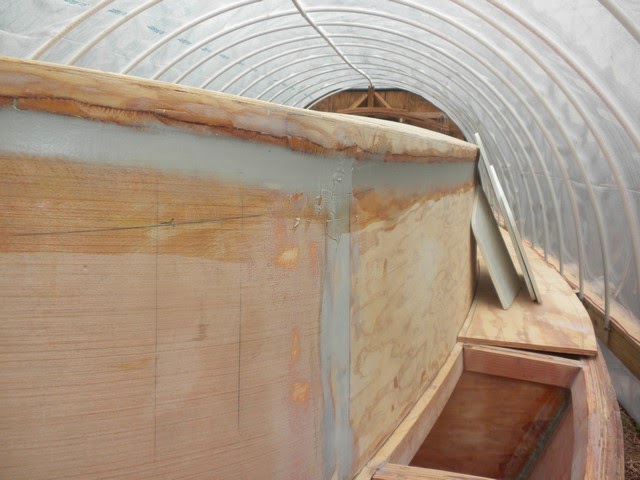
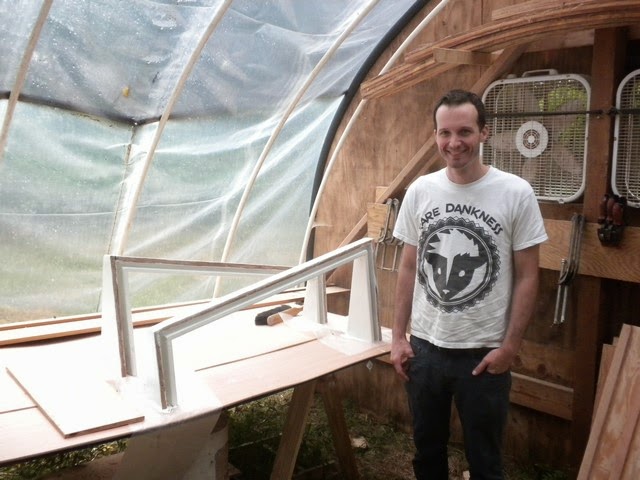
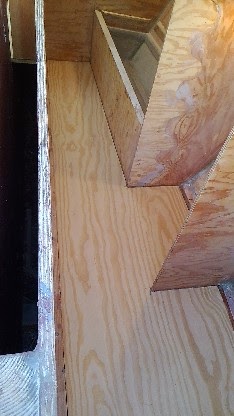
| Framework for smaller entrance |
 |
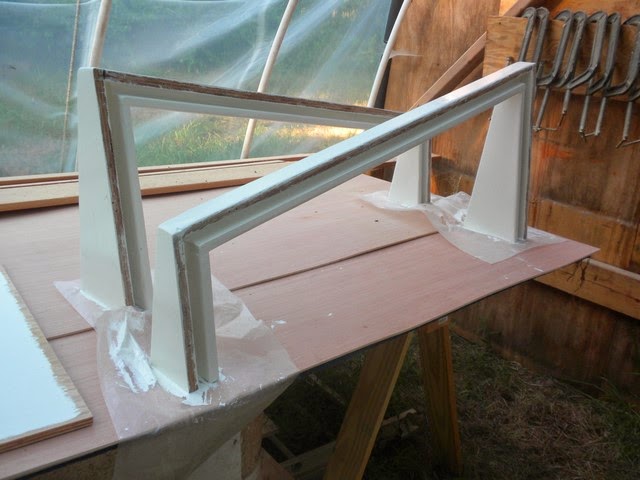
| Smaller companionway entrance |
I made the companionway entrance smaller; it was way too large. Also, Reuel sent me a nice drawing for the details for the companionway hatch which is a great help. I'm going with the front end of the hatch runners, coamings, or slide runners suggested by Fred P. Bingham in his book
Boat Joinery & Cabinet Making Simplified. Here is a photo below.
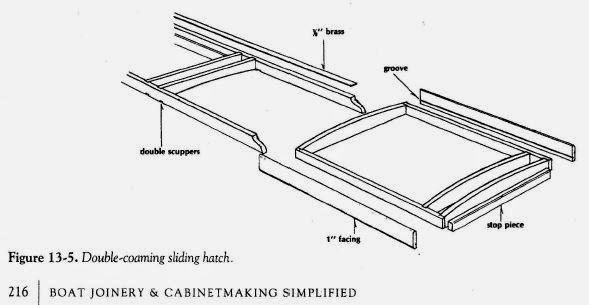 |
| Slide Runners - Fred Bingham |
The theory is that the water entering at the front, below the stop piece, will be slowed by the second coaming and drain out the scupper between the two coamings.
Well, back to the construction details. Some work on the cabin sole, I epoxied the 1/4 inch plywood over the lead ballast layer.
 |
| Fitting the cabin sole |
Also, I got the cabin sole very fair and smooth with the Makita 8 inch rotary sander and epoxied 1/4 inch plywood over that, so it is completely sealed.
 |
| Using a digging iron and loading strap to pull in the toe rail |
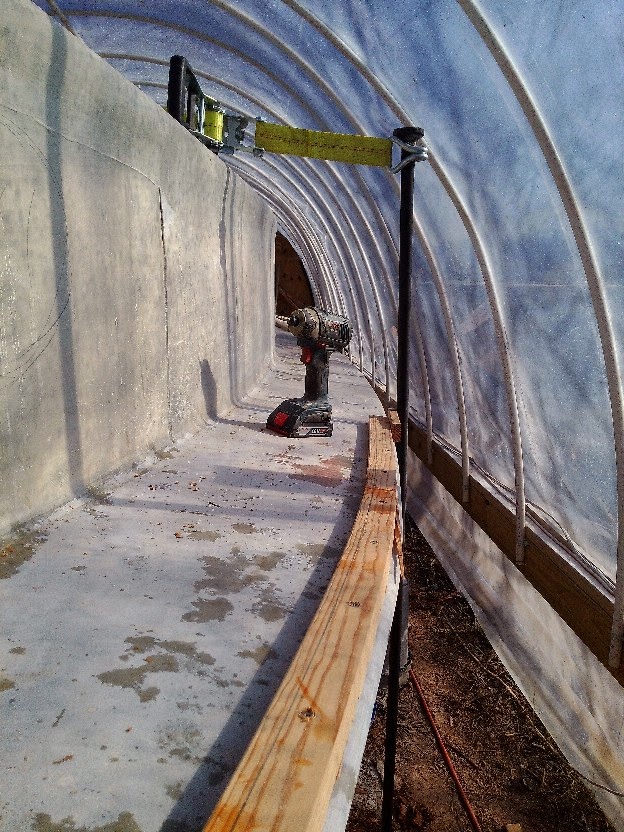
January 2015, it has turned cold, so I am focusing on sanding and carpentry items until it is warm enough to epoxy. If it is 50 degrees F outdoors, it is almost 70 inside, so the greenhouse effect is helpful, but nights can be very cold. Starting with the first layer of the toe rail, there will be four to make it 3 inches high. Also, am working on the bowsprit and boomkin.
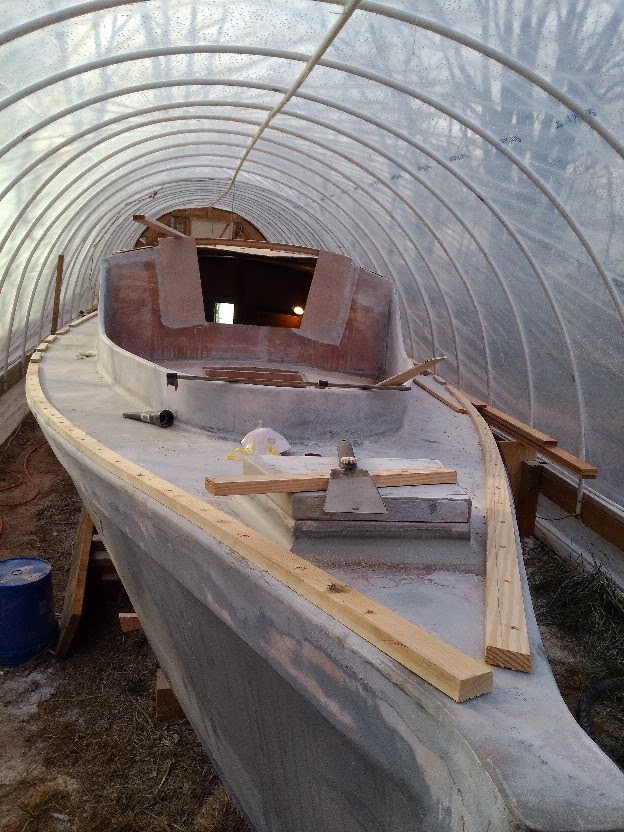 |
| Stern view, first layer of toe rail dry-fitted. Scuppers on port side visible |
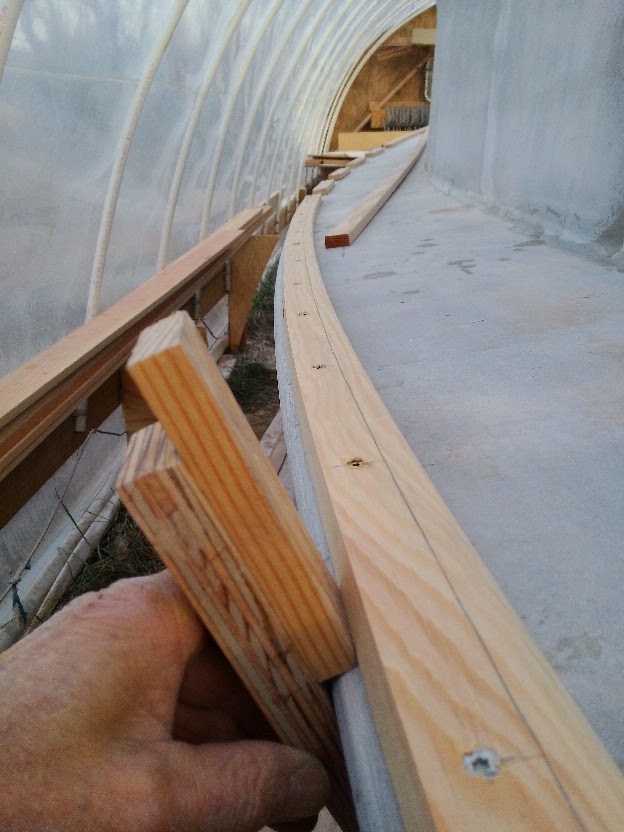 |
| Gauge to measure toe rail setback |
The toe rail has to be coordinated with the bowsprit and boomkin, so I'm getting those done now.
 |
| Bowsprit in place for fitting toe rail |
The bowsprit is clamped on in place. Getting it centered took some doing, but with string and long pieces of fir I could see that it "looked" right. That's the best I can do. The boomkin is next. I hope I don't screw it up as badly as I did the bowsprit. I'll use the table saw to make the initial rough cuts this time. The Milwaukee "Skillsaw" didn't work to well for me and the tip ended up a bit too thin. It's not the saw's fault, of course. It works really well, considering I bought it in 1974. Once these are placed, I'll drill holes to hold them down and for the bow anchor rollers.
Rub rail next, as usual, this took longer than I had imagined.

%2B(Copy).jpg)
%2B(Copy).jpg)
%2B(Copy).jpg)
.JPG)
.JPG)
.JPG)
.jpg)
.jpg)
.JPG)
.jpg)
.JPG)
.JPG)
.jpg)
.JPG)
%2B(Copy).jpg)
%2B(Copy).jpg)
%2B(Copy).jpg)
%2B(Copy).jpg)
.JPG)
.JPG)
.jpg)
%2B(Copy).jpg)
.jpg)
%2B(Copy).jpg)
.JPG)
.JPG)
.JPG)
.JPG)
.JPG)
.JPG)
.JPG)
.jpg)
.jpg)
.jpg)
.jpg)
.jpg)
.jpg)
.jpg)
.jpg)


Really enjoying your posts. Great to see her taking shape. Check out my blog "Presto Sharpie Sandpiper 32 re-fit"
ReplyDeleteThanks, I checked out your blog. Neena is really beautiful. Won't be long before you are back in the water, spring surely will come! - Dennis
DeleteI keep checking by to see your progress, hope everything is going swimmingly.
ReplyDeleteRight! I'm way behind on posting. A big push to get Kardinal open here in Charlottesville. Also, real estate has been busy. Had some great help a couple of Saturdays ago and put together the main mast, birdsmouth. Working on cabinets inside now... Will catch up blog soon.
ReplyDelete